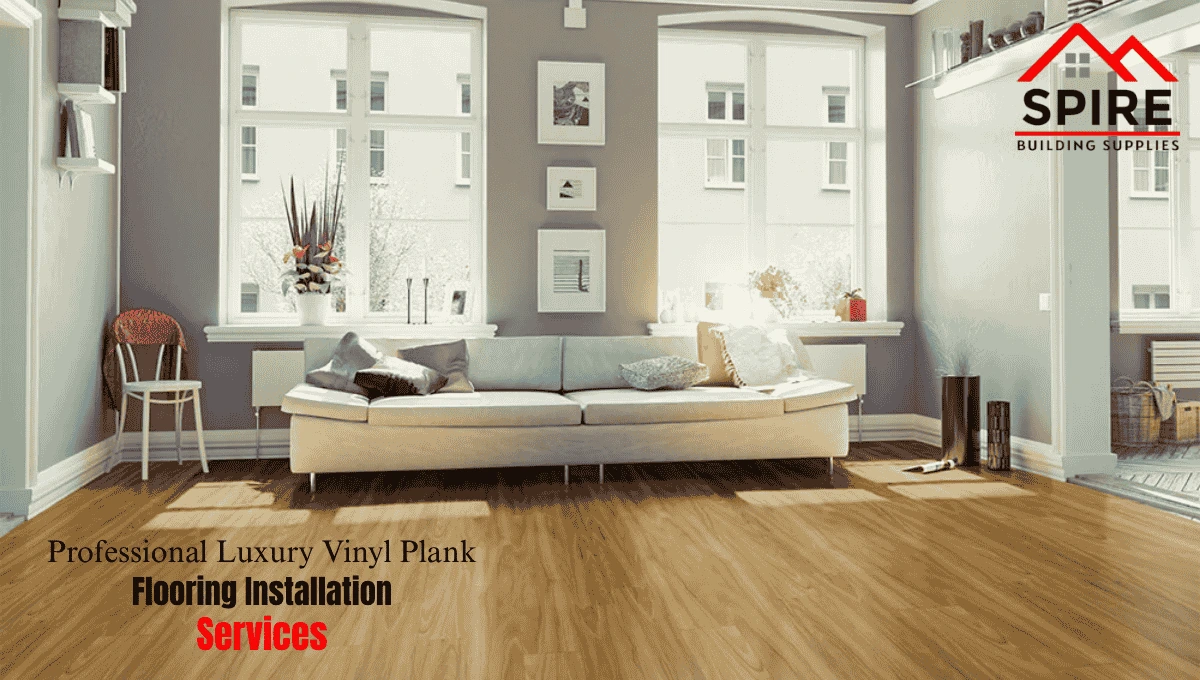
Choosing new flooring is one of those decisions that feels simple until you’re standing in a showroom surrounded by options. If you’ve been researching luxury vinyl plank flooring installation, you’ve likely already noticed how much variation exists in materials, thickness, installation methods, and cost. Get it right and you’ll have a floor that looks sharp, holds up to daily life, and adds real value to your home. Get it wrong and you’ll be living with squeaks, gaps, and lifting edges for years.
This guide cuts through the noise. Whether you’re tackling a single room or an entire level, here’s what you actually need to know before the first plank goes down.
What Is Luxury Vinyl Plank Flooring?
Luxury vinyl plank (LVP) is a synthetic flooring material engineered to look like hardwood or stone. It’s built in layers: a rigid or semi-rigid core, a photographic film layer that replicates natural textures, and a wear layer on top that protects against scratches, scuffs, and moisture.
Unlike traditional hardwood, LVP doesn’t swell or shrink dramatically with humidity changes. Unlike laminate, most modern LVP is genuinely waterproof not just water-resistant. That distinction matters a lot in kitchens, bathrooms, and basements.
The category has expanded significantly over the past decade. You’ll now find options ranging from basic 4mm planks to thick, rigid-core formats at 8mm or more. The wear layer thickness — typically measured in mils determines how long the surface holds up under foot traffic.
Key Factors That Affect LVP Installation Quality
Installation quality determines about half of how your finished floor performs. A beautiful product installed poorly will fail early. A mid-range product installed correctly will serve you well for years.
Subfloor Condition
This is where most installations go wrong. LVP requires a flat, clean, and dry subfloor. Industry standard calls for no more than 3/16 inch variation over 10 feet. Any humps, dips, or ridges will telegraph through the planks over time — and in rigid-core formats, they’ll cause planks to crack at the locking joints.
Concrete subfloors need moisture testing before installation. Elevated moisture levels can cause adhesion failures or mold growth beneath the floor, even with “waterproof” LVP.
Acclimation
Even waterproof LVP benefits from acclimation. Letting the product sit in the installation environment for 24–48 hours allows it to stabilize to the room’s temperature and humidity. Skipping this step can lead to expansion-related issues after install.
Expansion Gaps
LVP still expands and contracts with temperature swings. Every installation requires expansion gaps at walls, door frames, and transitions — typically 1/4 inch. Without them, planks will buckle in warm weather. Installers who skip this step are the reason floors fail in summer.
Underlayment
Some LVP comes with pre-attached underlayment. If yours doesn’t, you’ll need a separate layer to reduce noise, add minor cushioning, and help the floor float more smoothly over minor subfloor imperfections. Never double up underlayment it creates too much give and can compromise the locking joints.
LVP Thickness: What the Numbers Actually Mean
Thickness is one of the most misunderstood specs in flooring. Here’s a straightforward breakdown:
- 4mm–5mm: Suitable for rooms with light traffic and a flat subfloor. Good for bedrooms or low-traffic offices.
- 6mm–7mm: A solid mid-range choice for living rooms and open-plan areas.
- 8mm+: Rigid-core or stone polymer composite (SPC) formats. Better at hiding minor subfloor imperfections and more durable under heavy furniture and foot traffic.
If you’re comparing specific products, the Discovery Ridge Luxury Vinyl Tile And Plank 4.5mm is a well-suited option for moderate-traffic areas where a clean aesthetic matters. For spaces that see more wear or need added durability, the Explorer’s Cove Luxury Vinyl Tile And Plank 5mm offers a slightly thicker profile with the same reliable locking system.
Benefits of Luxury Vinyl Plank Flooring
There’s a reason LVP has displaced laminate and engineered hardwood in so many renovation projects. It delivers a combination of features that’s hard to match at the price point.
Waterproof core. Most rigid-core LVP is 100% waterproof through the entire plank, making it safe for wet areas where wood-based products can’t go.
Durability. A quality wear layer handles daily foot traffic, pet claws, and dropped items without showing the damage quickly.
Easy maintenance. Sweep regularly, damp mop as needed. No waxing, no refinishing, no special cleaners required.
Realistic visuals. Modern printing technology means the best luxury vinyl plank flooring is difficult to distinguish from real hardwood or stone at a glance — and in some cases, in photos.
Comfortable underfoot. Especially with attached underlayment, LVP is softer and warmer than tile and more forgiving on joints than hardwood over concrete.
Faster installation. Most LVP uses a click-lock floating system that an experienced installer can move through quickly. No adhesive curing time required.
Realistic Limitations to Consider
No flooring is perfect. Here’s what LVP doesn’t do well:
- It can’t be sanded or refinished. Once the wear layer is gone, the floor needs replacing.
- It can be damaged by prolonged exposure to direct sunlight — UV fading is real, especially in south-facing rooms.
- In very cold environments, rigid-core products can become brittle and more susceptible to impact damage.
- It doesn’t add the same resale value perception as real hardwood, though this gap has narrowed.
- Heavy furniture with small legs can dent or compress LVP if left in place long term. Use furniture pads.
Common Installation Mistakes to Avoid
These are the errors that show up most often — and the ones that are most costly to fix after the fact.
Skipping the moisture test. If you’re installing over concrete, test first. Always. Moisture is the number one cause of LVP failure over concrete subfloors.
Not checking subfloor flatness. Running a straightedge across the subfloor takes 20 minutes. Skipping it and discovering the problem after installation can cost significantly more to fix.
Forgetting expansion gaps at vertical surfaces. This includes door frames, cabinets, islands, and any vertical obstacle — not just perimeter walls.
Starting in the wrong direction. Planks should generally run parallel to the longest wall or the primary light source. Running them perpendicular to natural light can exaggerate seams visually.
Rushing transitions. Where LVP meets tile, carpet, or changes elevation, transitions need the right profile type. Using the wrong one looks amateurish and can create a tripping hazard.
Mixing batches without checking dye lots. Slight color variation between production runs is normal. Mix planks from multiple boxes throughout the installation to blend any differences naturally.
Expert Tips for a Better Installation
These aren’t just best practices from a manual — they’re the things experienced installers actually do on every job.
Stagger end joints by at least 6 inches between adjacent rows. Short joints close together create a “stacked” look that looks manufactured and structurally undermines the floor.
Work from multiple boxes at once. Pulling planks from two or three open boxes at a time randomizes the pattern and prevents visual clustering of similar-grain planks.
Use a pull bar and tapping block. Click-lock systems need to be seated fully. Hand pressure alone often leaves gaps that open further over time. The right tools make the connection solid.
Undercut door casings. Sliding LVP under the existing casing looks far more professional than cutting around it. A jamb saw or oscillating tool makes this quick.
Install the last row before baseboard and trim. Leave the expansion gap visible until trim covers it. This keeps the floor free and allows movement without restriction.
What to Look for in a Professional Installer
Not all flooring installers bring the same standard of work. Before hiring, ask:
- Do they test the subfloor moisture before starting?
- How do they handle transitions to adjacent flooring types?
- What warranty do they offer on the labor itself?
- Can they provide before-and-after photos of similar projects?
A quality installer will welcome these questions. One who deflects them is telling you something.
Real-World Use Cases
Open-plan kitchen and living areas: LVP running continuously through kitchen, dining, and living creates a seamless look. Because it’s waterproof, spills near the kitchen sink or dining table aren’t a concern.
Basement conversions: Below-grade concrete presents moisture challenges that rule out wood-based flooring. Rigid-core LVP, properly installed over a vapor barrier, handles this environment well.
Rental properties: The durability-to-cost ratio of LVP makes it the go-to choice for landlords. It handles tenant traffic without showing wear quickly and doesn’t require the refinishing that hardwood eventually needs.
Pet owners: LVP with a thick wear layer handles claws significantly better than hardwood. It’s also easier to clean than carpet for accidents.
People Also Ask:
How long does luxury vinyl plank flooring last?
With proper installation and regular maintenance, quality LVP typically lasts 15–25 years. Wear layer thickness is the biggest factor thicker wear layers hold up longer under heavy traffic.
Can luxury vinyl plank flooring be installed over existing tile or hardwood?
Often, yes provided the existing surface is flat, stable, and not too elevated. You need to account for height changes at transitions. Always check manufacturer guidelines for your specific product.
Is luxury vinyl plank flooring suitable for bathrooms?
Rigid-core and waterproof LVP formats are well-suited for bathrooms. The key is ensuring proper expansion gaps and using appropriate transition strips at the shower or tub edge.
What’s the difference between LVP and luxury vinyl tile (LVT)?
LVP mimics wood planks; luxury vinyl tile is cut in square or rectangular formats to replicate stone or tile. Both use the same core construction. The choice is primarily aesthetic.
How do I clean and maintain luxury vinyl plank floors? Sweep or vacuum regularly to remove grit, which causes surface scratches over time. Damp mop with a pH-neutral cleaner. Avoid steam mops — the heat can affect the adhesive and joints over time.
What Our Customers Say
We had LVP installed throughout our entire main floor kitchen, living room, hallway. The installer caught a moisture issue in the concrete before it became a disaster. The floor looks incredible and has handled two dogs and three kids without a mark. — Sandra M., homeowner
I was skeptical that vinyl could look like real hardwood. I’m not skeptical anymore. The texture and plank variation are genuinely impressive. Very happy with the result. — James R., condo renovation
We’ve used LVP in three of our rental units now. It holds up, it’s easy to clean between tenants, and it looks sharp. Makes a real difference in how quickly units rent. — Derek T., property manager
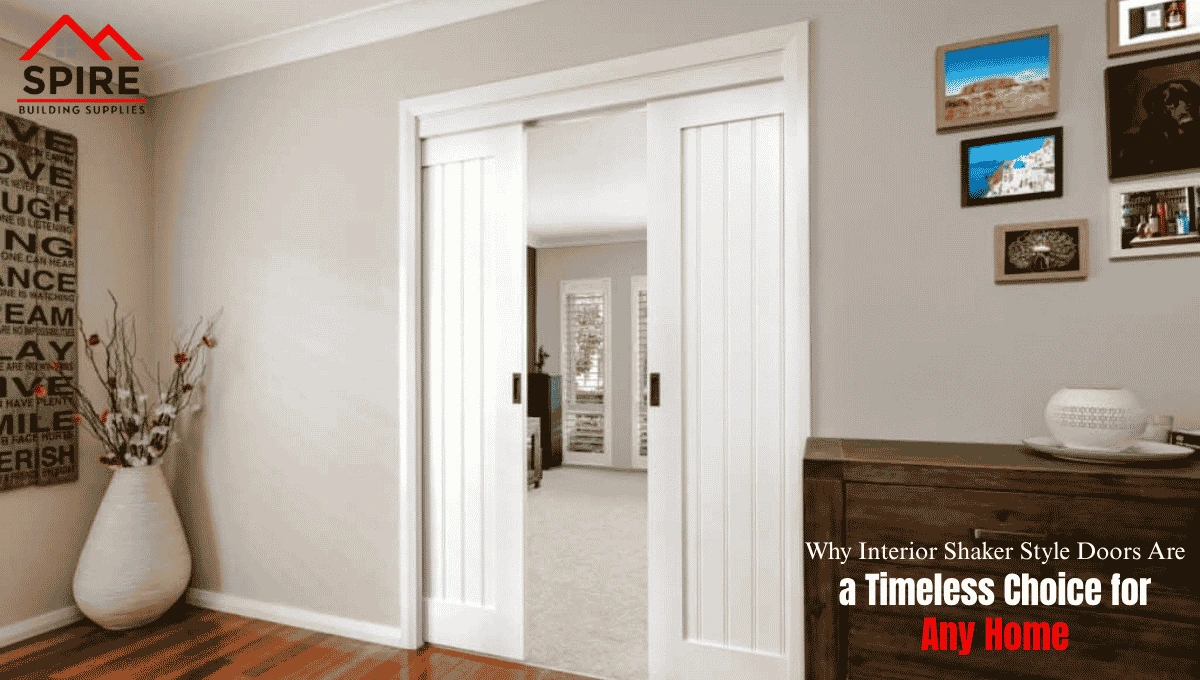
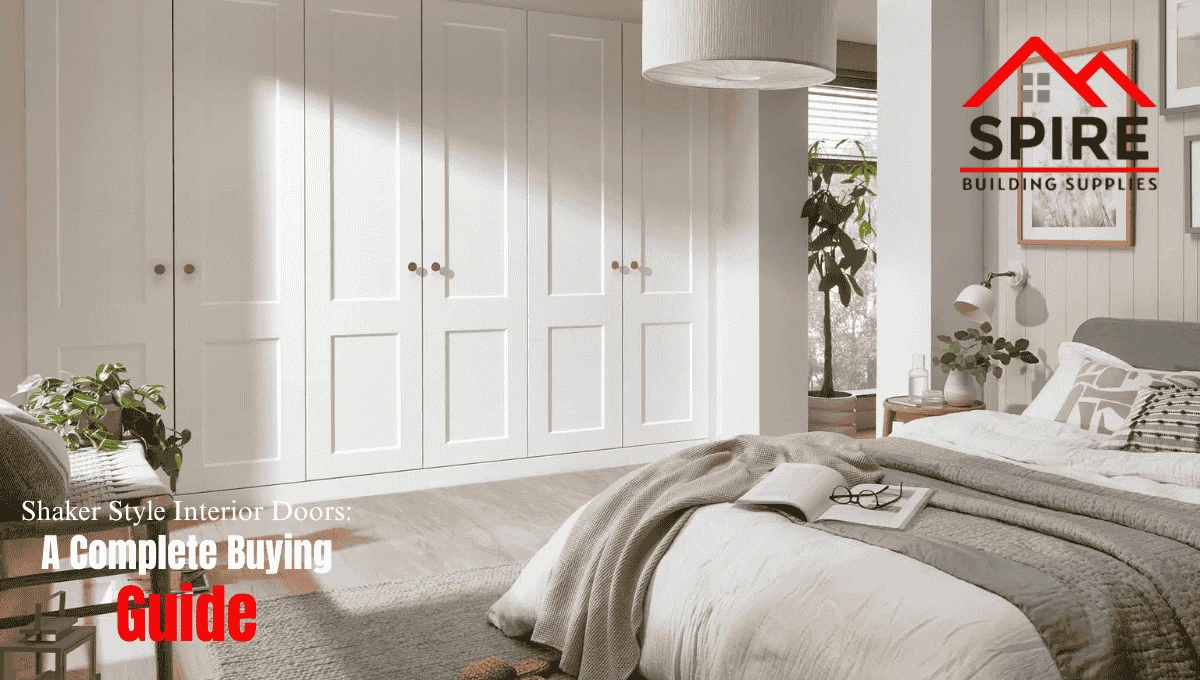
Pairing Your Floor with the Right Interior Finishes
A new floor doesn’t exist in isolation. Once you’ve selected your LVP, it’s worth thinking about how it connects to adjacent finishes. Door styles and trims, for instance, need to coordinate with your floor’s tone and texture. If you’re also updating entryways or interior spaces, it’s worth reviewing options for interior door installation alongside your flooring project to create a cohesive design outcome.
For a full range of flooring options to compare and consider, browse the flooring section at Spire Building Supplies.
About This Article
This guide was written by the editorial team at Spire Building Supplies a team with hands-on experience in residential and commercial building materials. Our goal is to give you honest, practical information that helps you make smarter decisions, whether you’re a homeowner, contractor, or designer. We don’t write to impress search engines. We write to be useful.


Leave a comment