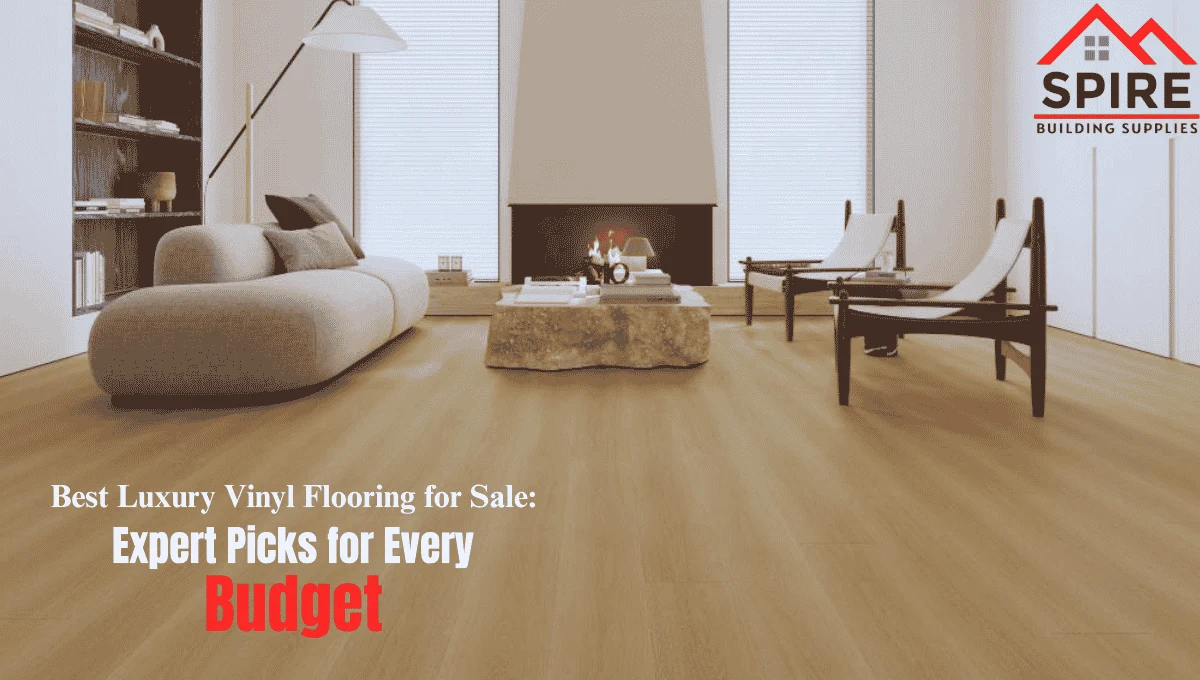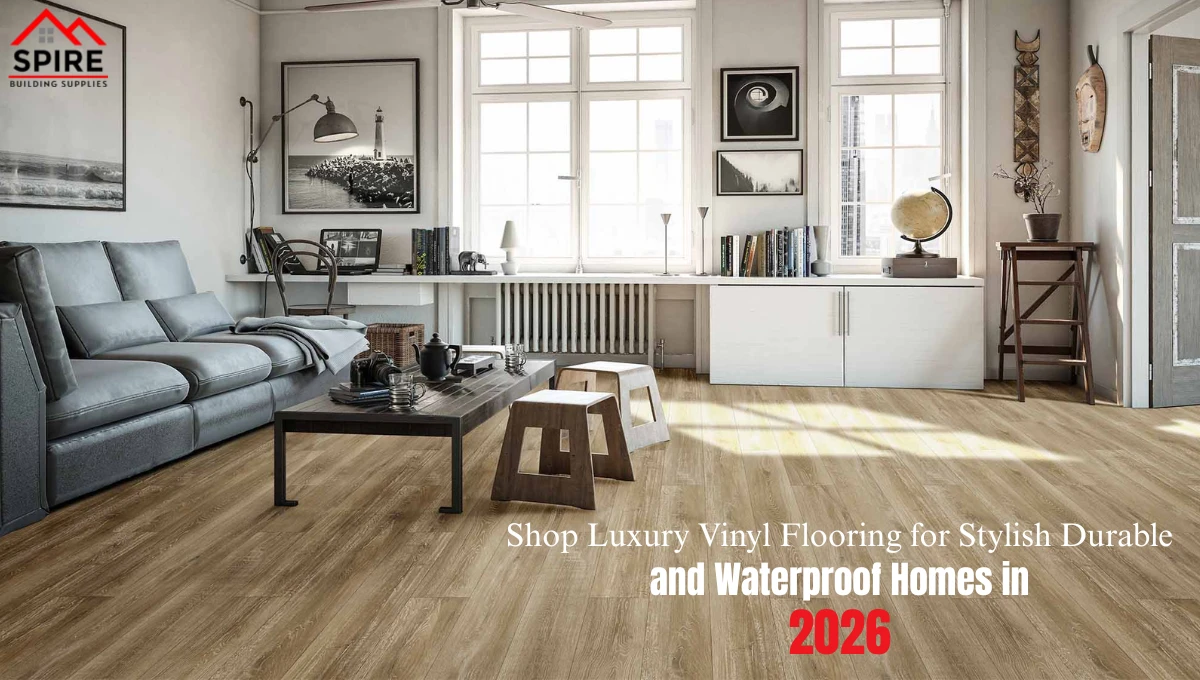
Shop Luxury Vinyl Flooring for Stylish Durable and Waterproof Homes in 2026
Shop luxury vinyl flooring to enjoy waterproof, durable, and stylish floors that mimic hardwood or stone at a lower cost. It is a low-maintenance flooring solution ideal for homes, basements, kitchens, bathrooms, and high-traffic areas.
Why Shop Luxury Vinyl Flooring in 2026?
Luxury vinyl flooring has evolved significantly over the past decade. Today’s products feature advanced manufacturing technologies that closely replicate natural hardwood and stone while offering greater resistance to moisture, scratches, dents, and daily wear.
Unlike traditional hardwood flooring, waterproof luxury vinyl flooring is designed for kitchens, bathrooms, laundry rooms, mudrooms, and even basements where moisture can become a problem.
Some of the biggest advantages include:
- Waterproof construction
- Comfortable underfoot
- Realistic wood and stone textures
- Lower maintenance requirements
- Affordable installation costs
- Excellent durability for busy households
- Pet and child friendly
Understanding Luxury Vinyl Flooring
Luxury vinyl flooring is a multi-layer flooring system engineered for strength and visual appeal.
Its construction typically includes:
| Layer | Purpose |
|---|---|
| UV Protective Coating | Prevents fading and staining |
| Wear Layer | Protects against scratches and abrasion |
| Decorative Layer | Creates realistic wood or stone visuals |
| Vinyl Core | Adds waterproof stability |
| Backing Layer | Improves comfort and sound absorption |
This layered design makes luxury vinyl much stronger than traditional sheet vinyl flooring.
Luxury Vinyl Plank vs Luxury Vinyl Tile
Many homeowners ask whether they should choose plank or tile.
| Luxury Vinyl Plank | Luxury Vinyl Tile |
|---|---|
| Mimics hardwood | Mimics ceramic or stone |
| Ideal for living rooms | Great for bathrooms |
| Warm appearance | Elegant stone finish |
| Easier to match wood interiors | Perfect for contemporary designs |
If you love hardwood aesthetics, shop luxury vinyl plank flooring for a timeless appearance. If you’re after a premium stone look without the maintenance, luxury vinyl tile flooring is an excellent choice.
Waterproof Luxury Vinyl Flooring for Modern Living
Water damage remains one of the biggest concerns for homeowners. Hardwood may warp, laminate can swell, and carpet absorbs moisture.
Luxury vinyl solves these issues by providing a waterproof surface that protects your investment.
It works exceptionally well in:
- Kitchens
- Bathrooms
- Laundry rooms
- Entryways
- Basements
- Pet-friendly homes
For homeowners considering luxury vinyl plank basement flooring, waterproof construction offers peace of mind against humidity and accidental spills.
Thickness Matters More Than Most Buyers Realize
Many shoppers focus only on color, but flooring thickness significantly impacts comfort and performance.
General recommendations include:
- 4–5 mm: Suitable for bedrooms and light residential use.
- 5–6 mm: Excellent balance for most homes.
- 6 mm and above: Ideal for heavy traffic and premium installations.
A thicker floor often feels quieter underfoot and hides minor imperfections in the subfloor more effectively.
Wear Layer Explained
One of the most overlooked features is the wear layer.
Think of it as the flooring’s shield.
Recommended wear layers:
- 12 mil: Standard residential use
- 20 mil: Busy homes with children and pets
- 28 mil: Commercial environments
Choosing the right wear layer often matters more than choosing the thickest plank.
Luxury Vinyl vs Hardwood Flooring
| Feature | Luxury Vinyl | Hardwood |
|---|---|---|
| Waterproof | ✔ | ✘ |
| Scratch Resistance | Excellent | Moderate |
| Cost | Lower | Higher |
| Maintenance | Easy | Moderate |
| Installation | Faster | Longer |
| Pet Friendly | Excellent | Fair |
While hardwood offers natural beauty, luxury vinyl provides a practical alternative with significantly lower maintenance.
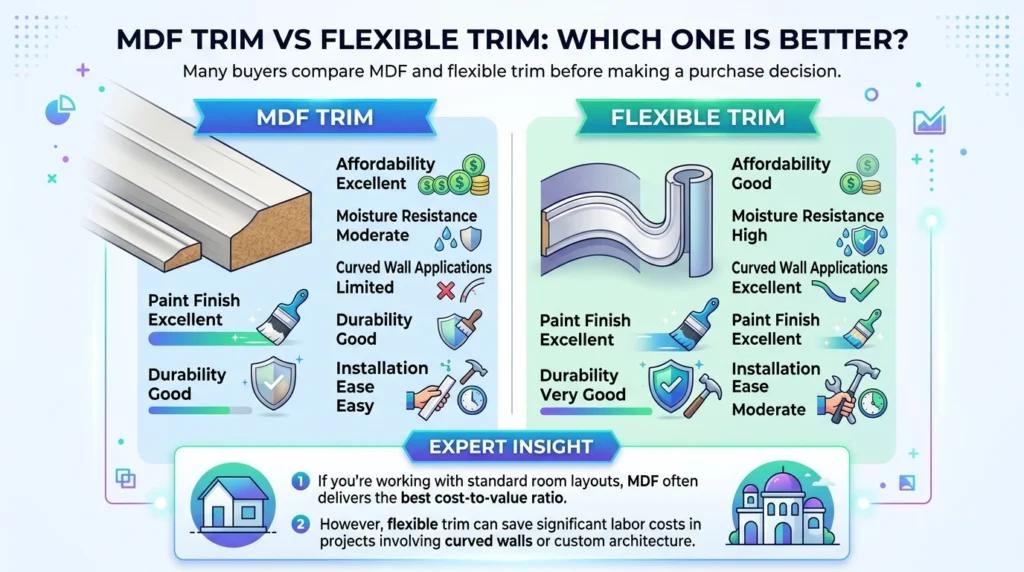
Expert Insight
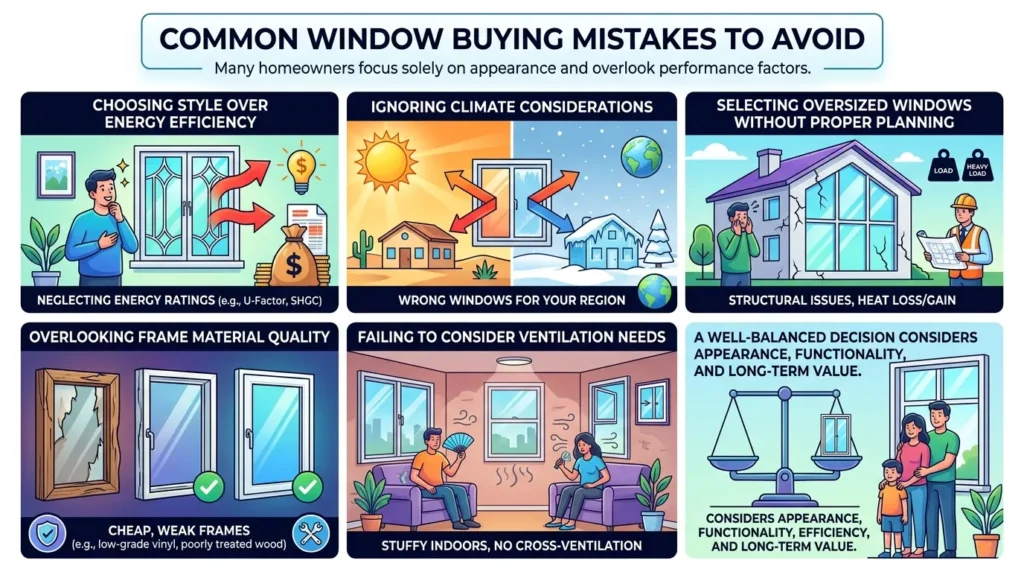
One common mistake homeowners make is purchasing flooring based solely on appearance.
Professional installers often recommend evaluating:
- Wear layer
- Core construction
- Installation system
- Warranty
- Moisture resistance
Choosing flooring based only on color can lead to disappointment after years of use.
Best Luxury Vinyl Flooring Products from Spire Building Supplies
At Spire Building Supplies, every luxury vinyl flooring option is designed to meet different budgets, room types, and performance needs. Whether you’re remodeling a single room or outfitting an entire home, these collections provide durability, waterproof protection, and realistic wood-inspired finishes.
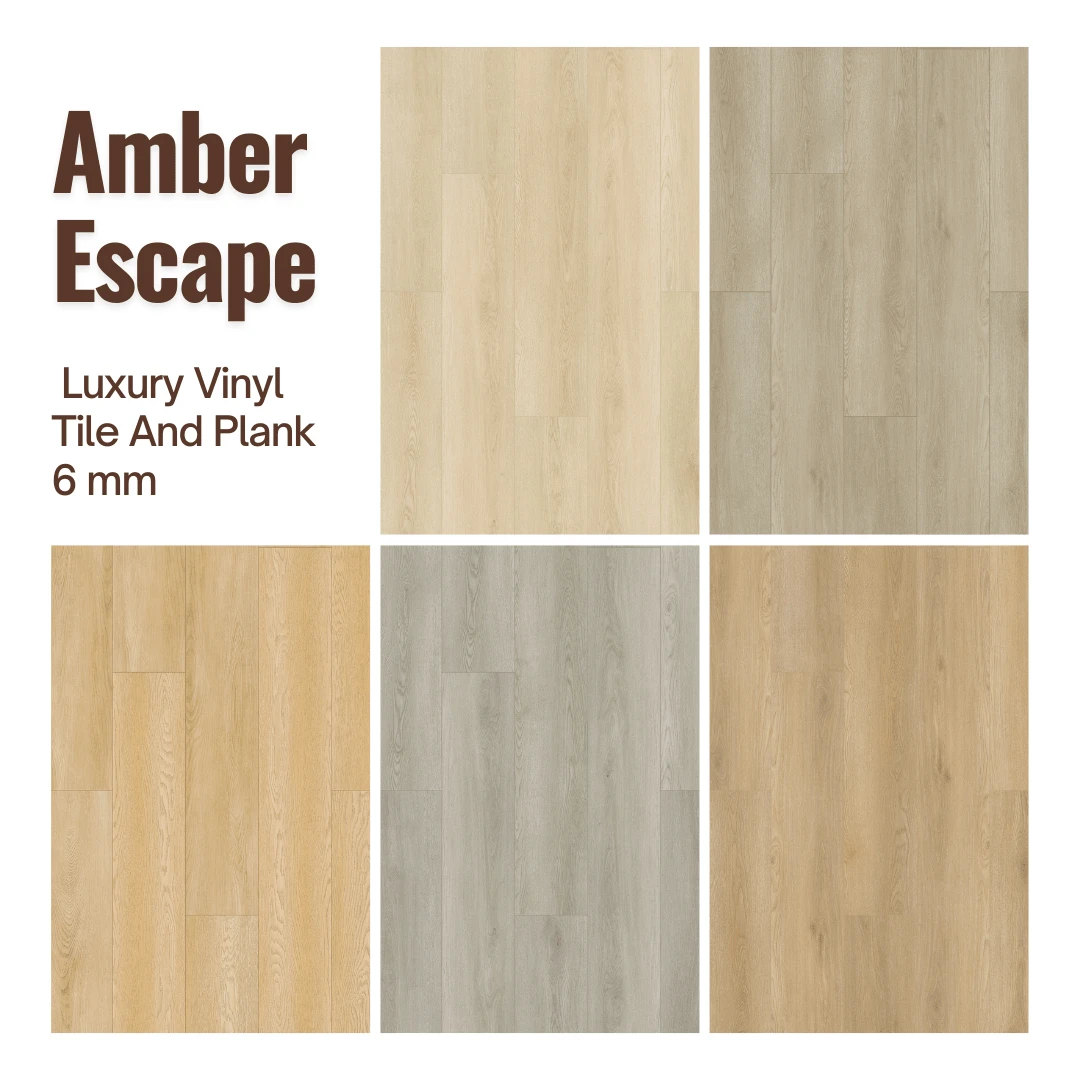
Amber Escape Luxury Vinyl Tile And Plank 6 mm
If you’re looking for premium performance with exceptional comfort underfoot, Amber Escape Luxury Vinyl Tile And Plank 6 mm is an excellent choice.
The 6 mm construction provides greater stability, improved sound absorption, and a more solid walking experience than thinner flooring options. It performs exceptionally well in living rooms, bedrooms, kitchens, and open-concept spaces where durability matters.
Best For
- Luxury residential interiors
- Family homes
- High-traffic living areas
- Home renovations
Key Benefits
- Thick 6 mm construction
- Waterproof performance
- Realistic hardwood appearance
- Comfortable underfoot
- Easy maintenance
Discovery Ridge Luxury Vinyl Tile And Plank 4.5 mm
Homeowners seeking affordability without sacrificing quality should consider Discovery Ridge Luxury Vinyl Tile And Plank 4.5 mm.
Its 4.5 mm profile makes it ideal for bedrooms, apartments, rental properties, and moderate-traffic spaces. Despite its slimmer construction, it still offers impressive durability and moisture resistance.
Best For
- Budget-friendly renovations
- Rental properties
- Guest rooms
- Bedrooms
Key Benefits
- Cost-effective option
- Waterproof surface
- Durable finish
- Easy click installation
- Attractive wood-look design

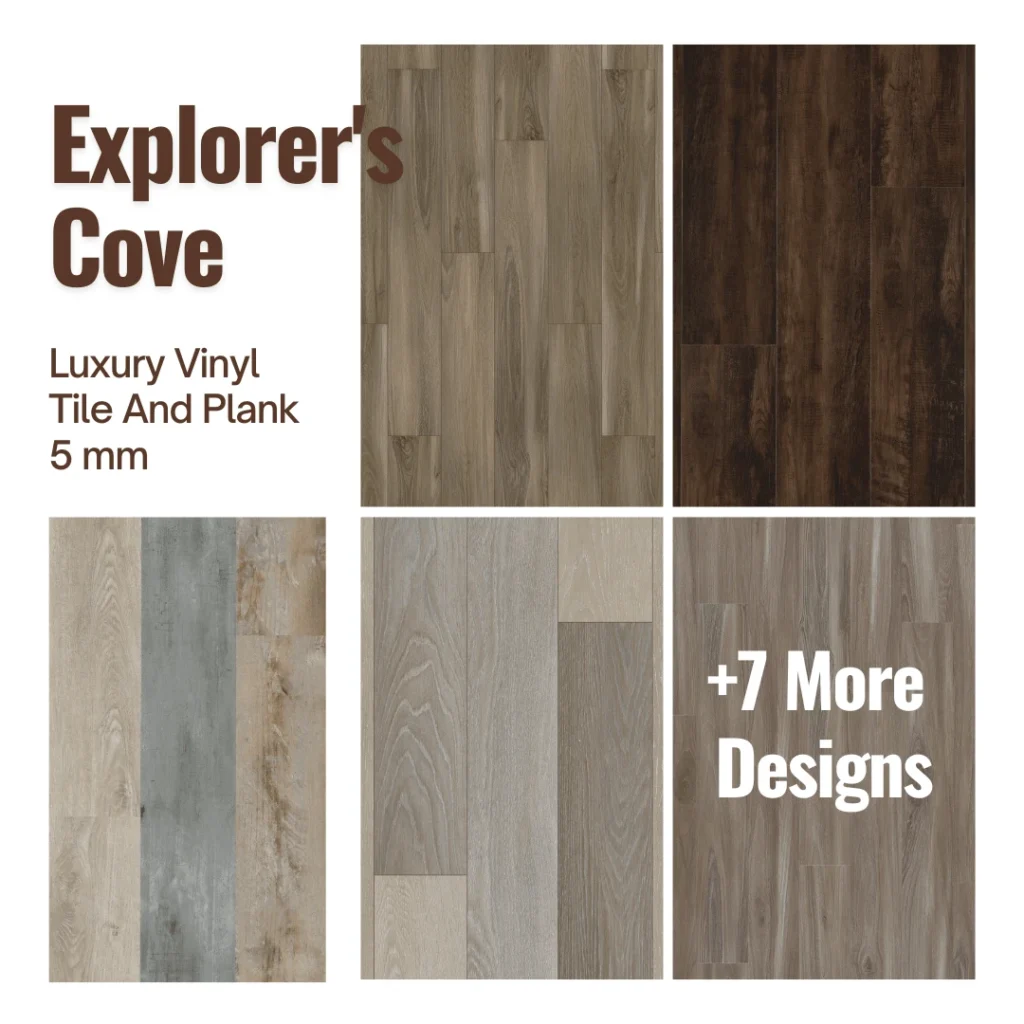
Explorer’s Cove Luxury Vinyl Tile And Plank 5 mm
Explorer’s Cove Luxury Vinyl Tile And Plank 5 mm offers an ideal balance between affordability and premium performance.
Its medium thickness makes it suitable for nearly every room in the home while providing improved comfort and durability compared to entry-level flooring.
For homeowners wanting both style and functionality, this flooring delivers excellent value.
Best For
- Whole-home flooring
- Kitchens
- Dining rooms
- Hallways
- Busy households
Key Benefits
- Durable 5 mm construction
- Waterproof design
- Scratch-resistant finish
- Modern wood textures
- Long-lasting performance
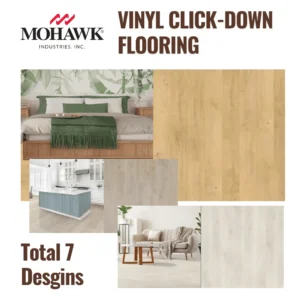
MOHAWK Brand Vinyl Click-Down Flooring
If quick installation is your priority, MOHAWK Brand Vinyl Click-Down Flooring stands out as one of the most installer-friendly options.
Its click-lock system eliminates the need for complicated installation methods, making it a favorite among contractors and experienced DIY homeowners.
Combined with Mohawk’s trusted manufacturing quality, this flooring delivers reliable performance for years.
Best For
- DIY installation
- Home remodeling projects
- Builders
- Busy households
Key Benefits
- Fast click-lock installation
- Waterproof construction
- Excellent wear resistance
- Low maintenance
- Trusted brand quality

Shop Deals on Luxury Vinyl Plank Flooring
Looking for value doesn’t mean sacrificing quality.
When comparing products, consider:
- Warranty length
- Installation method
- Waterproof rating
- Wear layer thickness
- Customer reviews
- Brand reputation
The best shop deals on luxury vinyl plank flooring balance affordability with long-term performance.
How to Clean Vinyl Flooring
Proper care extends the life of your investment.
Follow these simple steps:
- Sweep or vacuum regularly.
- Mop using a damp microfiber mop.
- Use a pH-neutral vinyl floor cleaner.
- Clean spills immediately.
- Avoid abrasive scrubbers.
- Use furniture pads to prevent scratches.
Knowing how to clean vinyl flooring properly helps maintain its appearance for years.
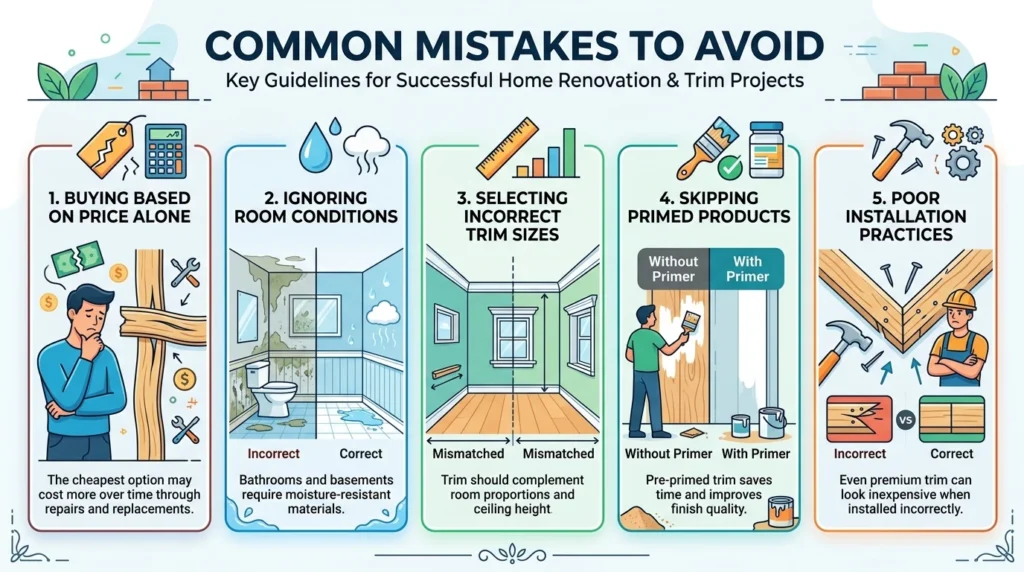
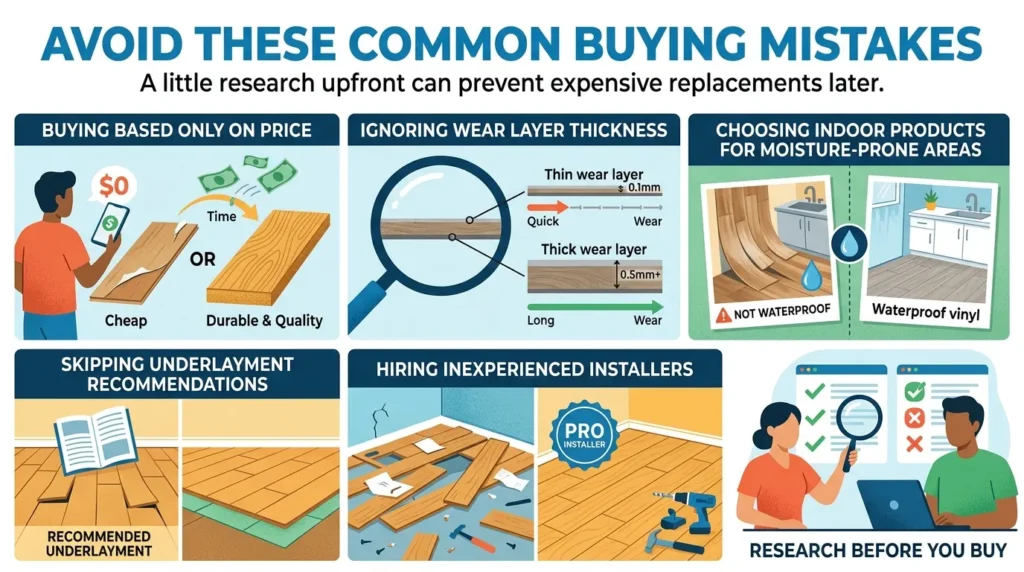
Common Buying Mistakes
Avoid these costly errors:
- Buying based only on price
- Ignoring wear layer thickness
- Choosing indoor products for moisture-prone areas
- Skipping underlayment recommendations
- Hiring inexperienced installers
A little research upfront can prevent expensive replacements later.
What Customers Say
Michael R., Texas
We installed luxury vinyl throughout our first floor, and it still looks brand new after two years with kids and two dogs.
Jennifer W., Florida
The waterproof performance exceeded our expectations. Cleaning is effortless, and guests often mistake it for real hardwood.
David M., Colorado
After comparing several flooring options, we chose Spire Building Supplies’ luxury vinyl flooring. Installation was straightforward, and the waterproof feature has been a lifesaver with our two dogs. Six months later, it still looks brand new.
People Also Asked
Is luxury vinyl flooring waterproof?
Yes. Most premium luxury vinyl flooring products are fully waterproof, making them ideal for kitchens, bathrooms, and basements.
How long does luxury vinyl flooring last?
High-quality luxury vinyl flooring typically lasts 15–25 years with proper installation and maintenance.
Is luxury vinyl better than laminate?
Luxury vinyl generally offers better water resistance, making it a smarter choice for moisture-prone areas.
Can luxury vinyl be installed over existing flooring?
In many cases, yes, provided the existing surface is clean, level, and structurally sound.
Does luxury vinyl increase home value?
While it may not add as much value as hardwood, modern luxury vinyl flooring is highly attractive to buyers because of its durability, appearance, and low maintenance.
Conclusion
Choosing the right flooring is about more than appearance—it’s about investing in comfort, durability, and long-term value. Whether you’re remodeling a single room or building a new home, Shop Luxury Vinyl Flooring to enjoy waterproof performance, stylish designs, and easy maintenance that fits modern living.
At Spire Building Supplies, you’ll find premium luxury vinyl options designed to suit every budget and design preference. Explore the collection, compare products, and choose flooring that delivers lasting beauty for years to come.
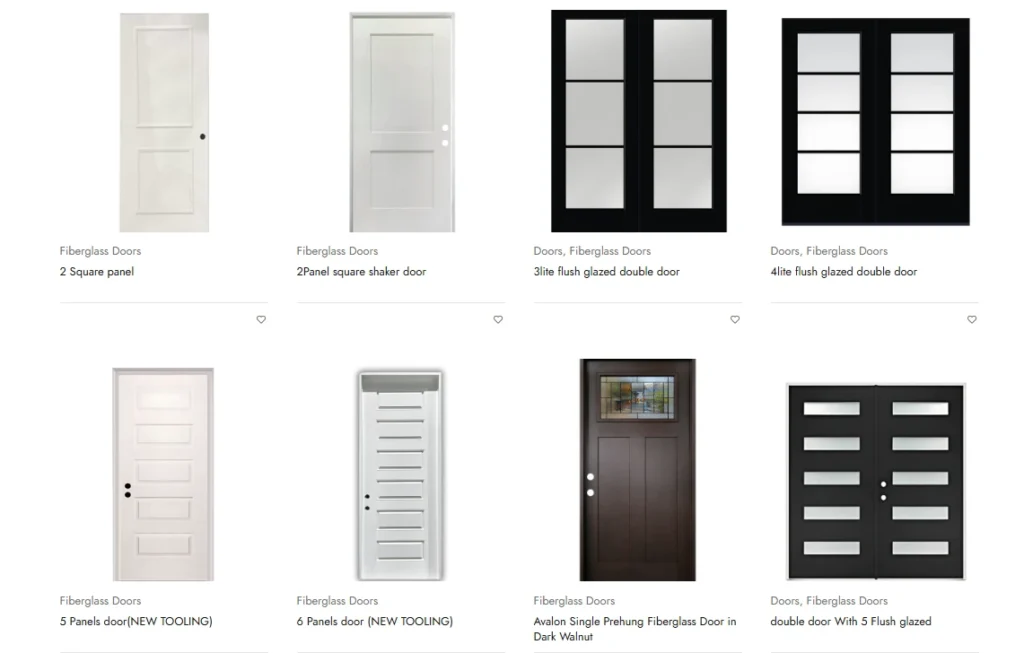
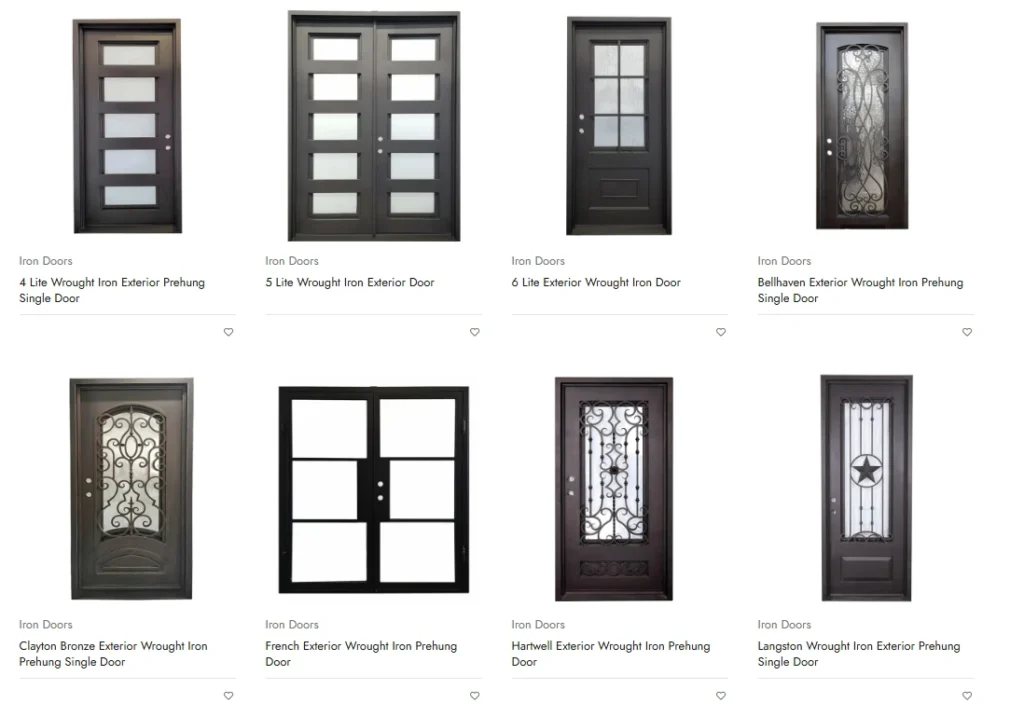
If you’re also planning a complete home upgrade, don’t forget to explore Best Doors to complement your new flooring with stylish, secure entryways.
Author Bio
Spire Building Supplies
Spire Building Supplies helps homeowners, builders, and contractors find premium flooring, doors, and building materials that combine style, durability, and value. Our team shares expert insights, practical buying guides, and trusted product recommendations to help customers make confident decisions for every project.